Getting Started with Netlify

I am a front end engineer who loves to code and built web apps.
Are you the one who loves to code every day and habit of learning by creating? Are you the one who made projects and want to show them to your friends, your family and want some appreciation and feedbacks?
But don't know how to do it because buying a domain is out of your budget, and don't want to take the headache of managing your site?
Then this article is for you.
In this article, I talked about how you can deploy your react-router based application using netlify. So, what exactly netlify is?
Netlify is a platform to host your static web apps. It's a great platform to showcase your projects and easy-to-use.
And one of the most important things, it's FREE!!

Isn't it amazing?? It's definitely is. That's what I love about Netlify.
Also, it provides continuous deployment. You just need to push your changes to GitHub/GitLab/Bitbucket repository and it will automatically reflect in your hosted site.
Netlify provides a random name to your site but the good thing is you can change it anytime and your site never goes down.
Let's get started!!
- First step is to make an account on Netlify. It's easy to make an account there.
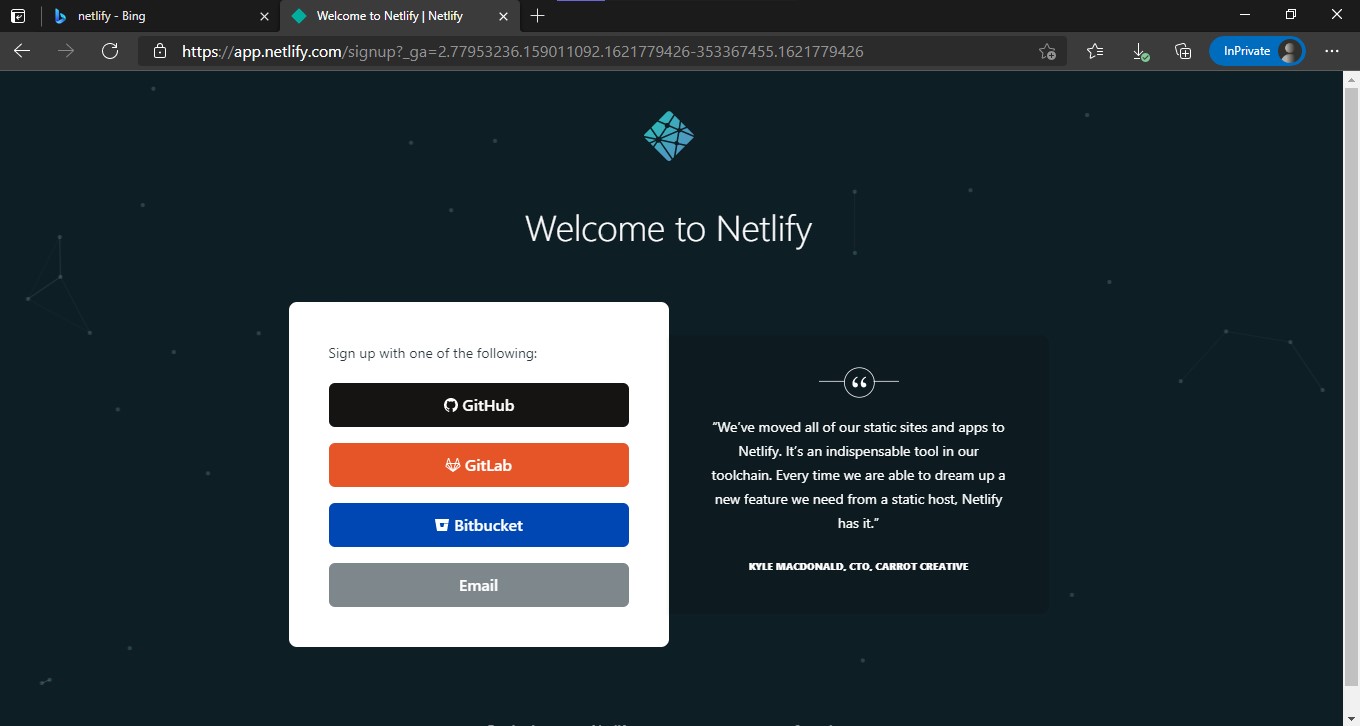
You can use any one of the following options to signup. I'm using Github in this case but you can use anything wherever your repository exists.
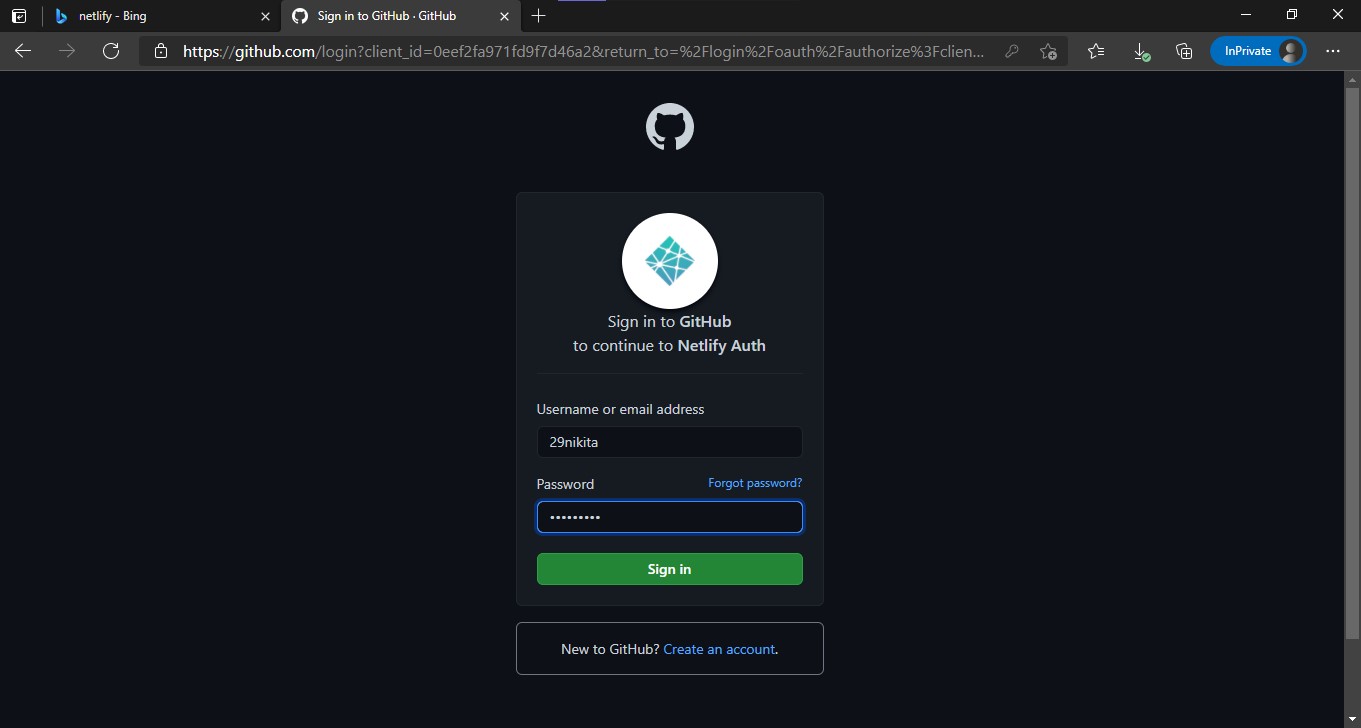
- Then, you have to put your credentials on Github to connect Netlify to it.
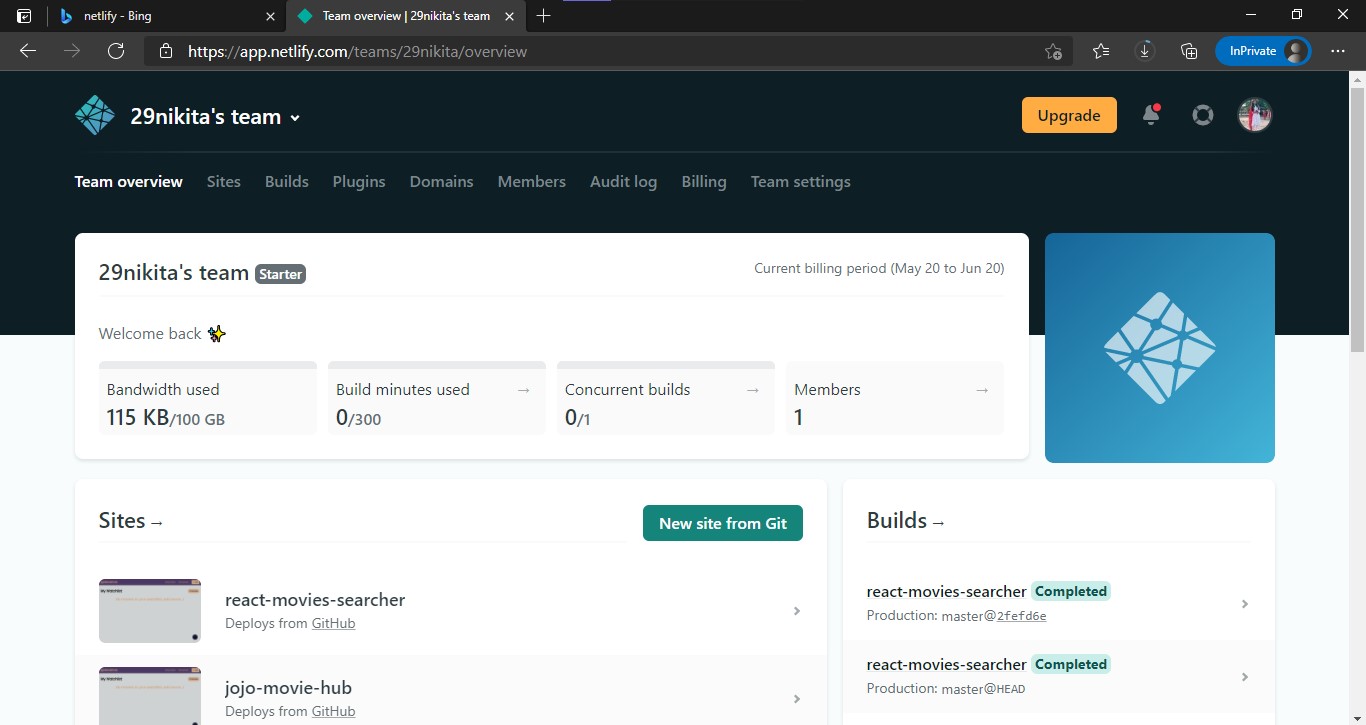
- After, signup you will see something like this.
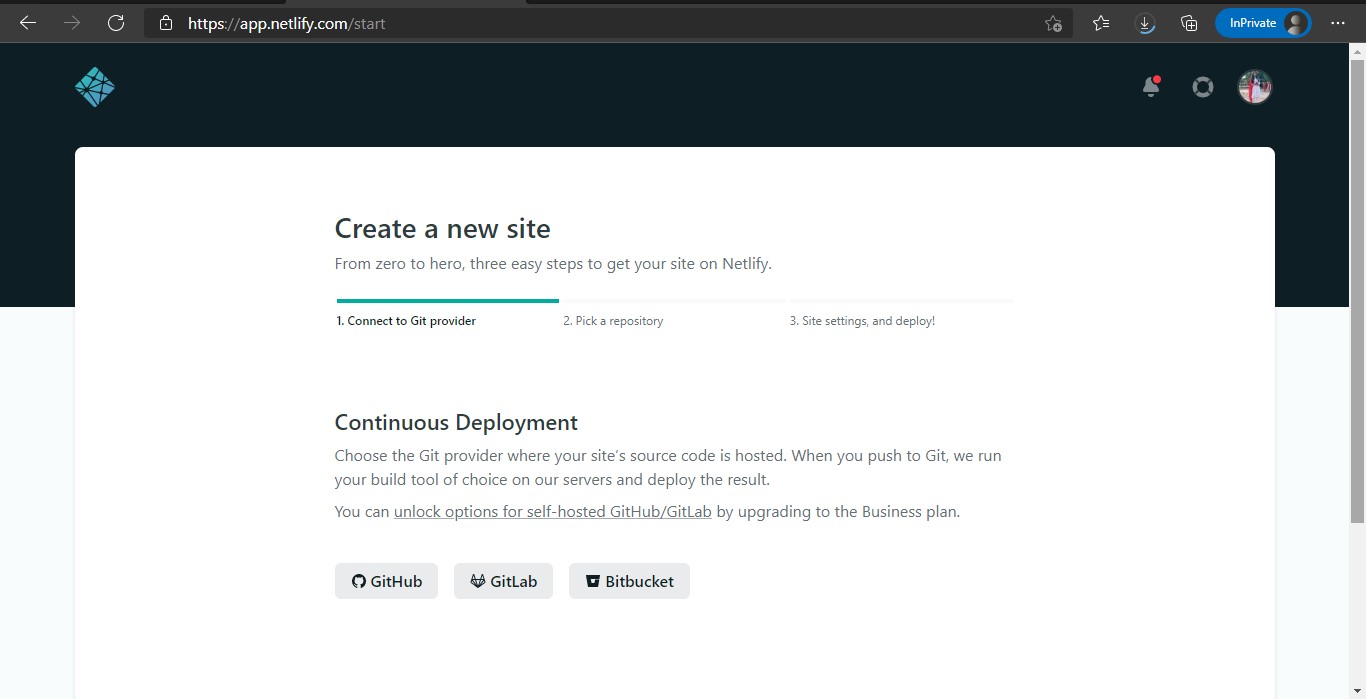
Let's deploy our site with Netlify now. Click on the New site from Git.
- Then, click on one of the Git providers where your source code is hosted.
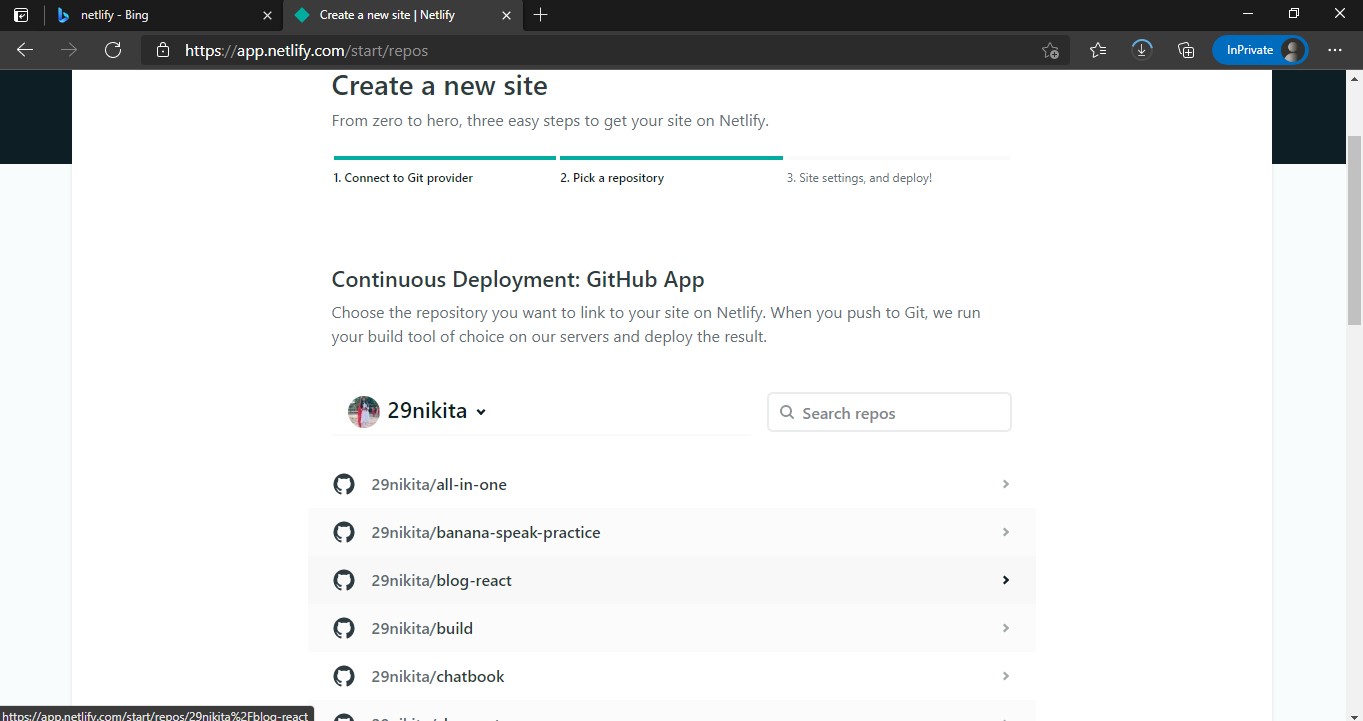
- Then, all the repositories will be opened. Either you can search for the repo or you can scroll down to select the desired repo.
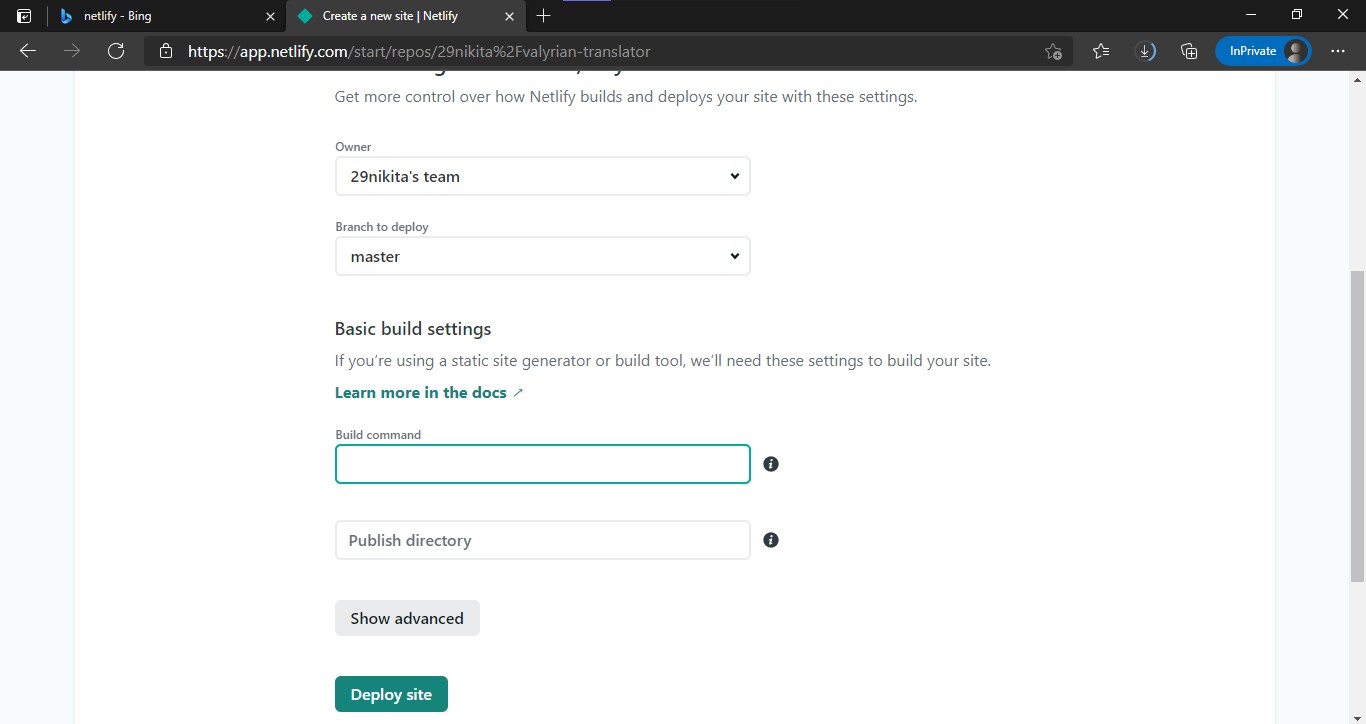
- After selecting the repository, now you can deploy your site with default settings.
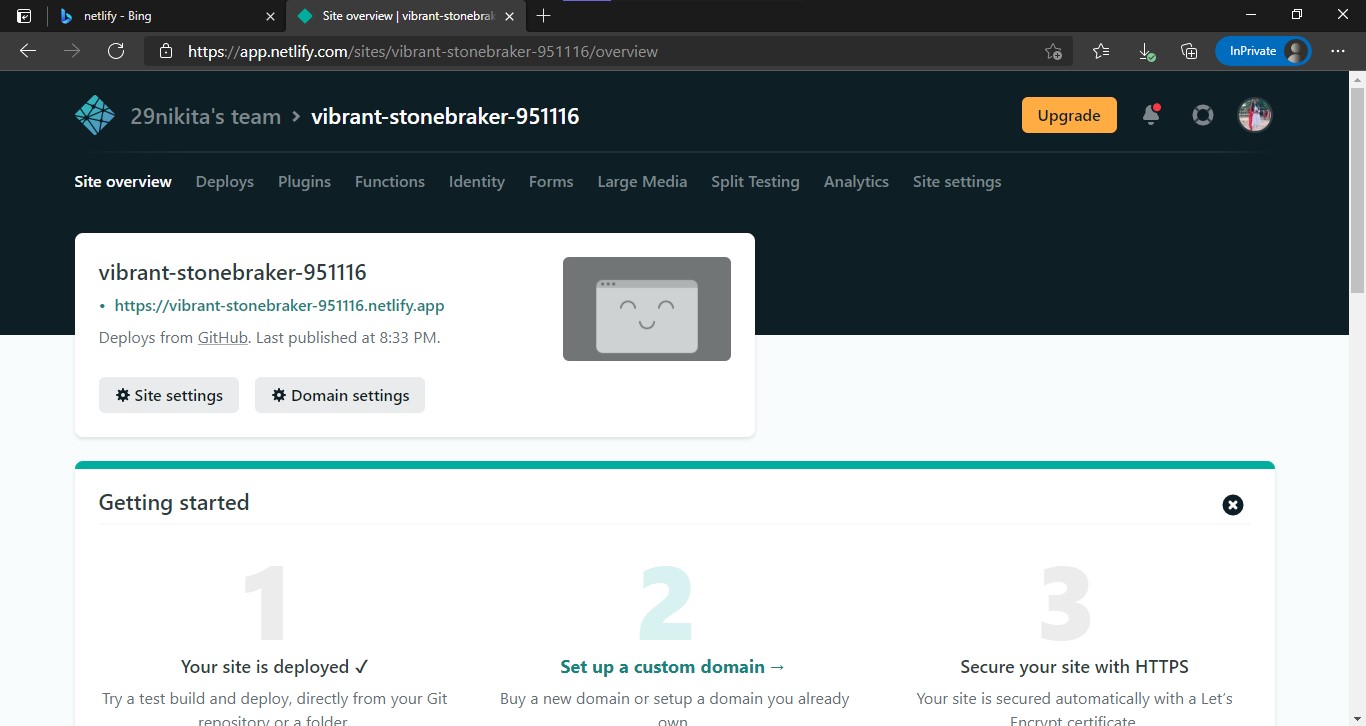
- It will take few seconds to deploy. Either you can wait or refresh the page.

- Here's your site successfully deployed with a random name assigned by Netlify.
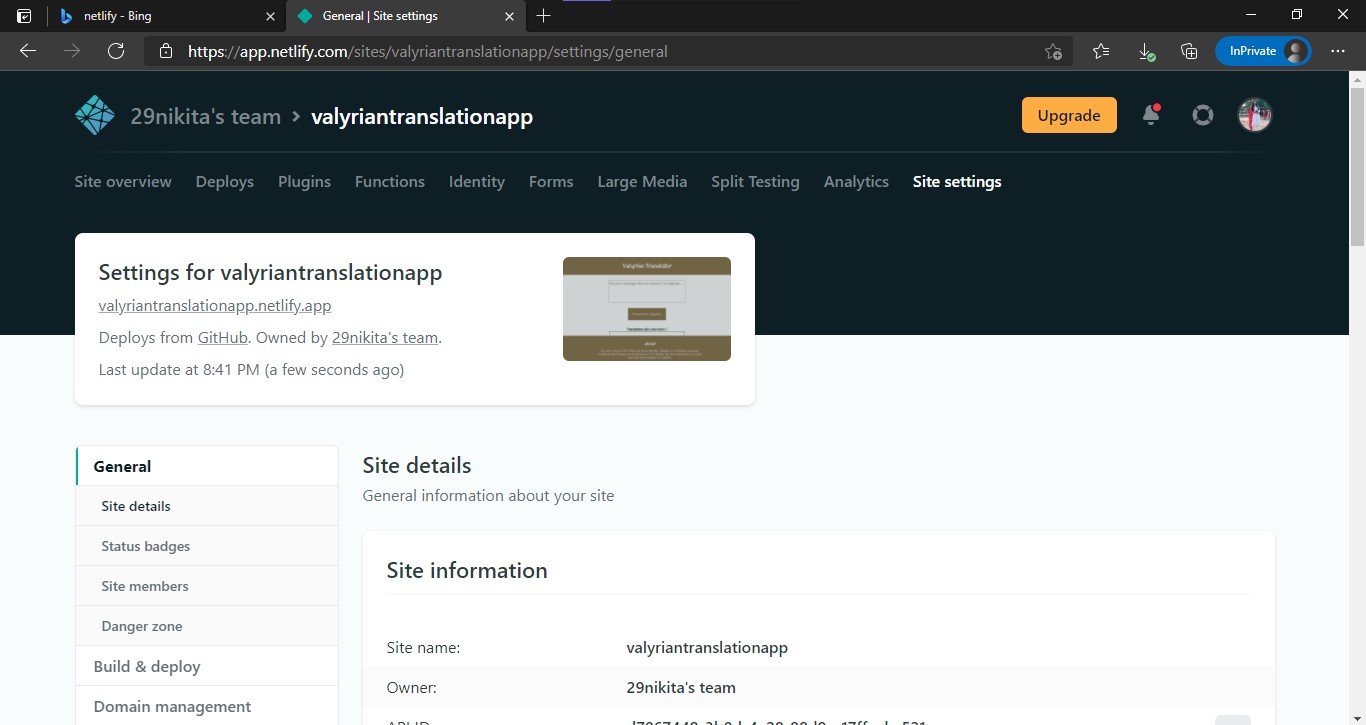
- Let's change the name of the site. Click on "site settings".

- Click on "change site name" and change it with the desired name.
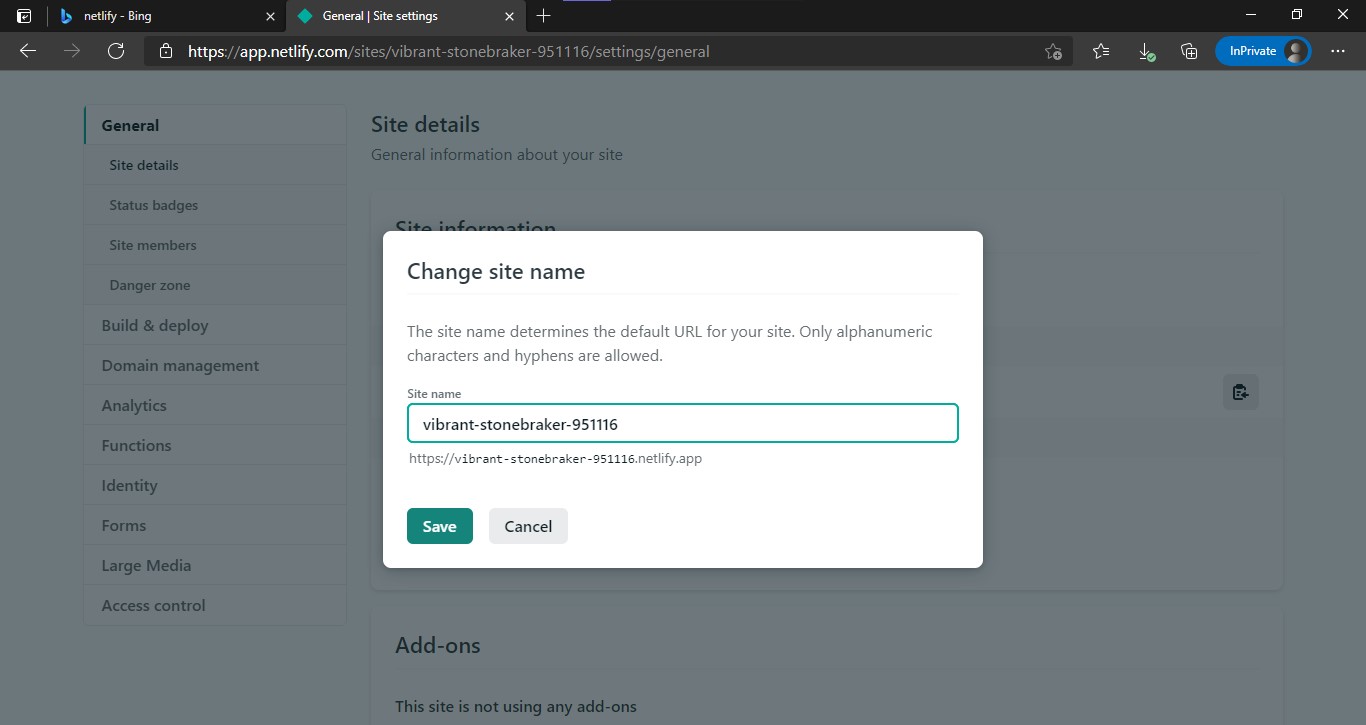
- After changing the name, save it.
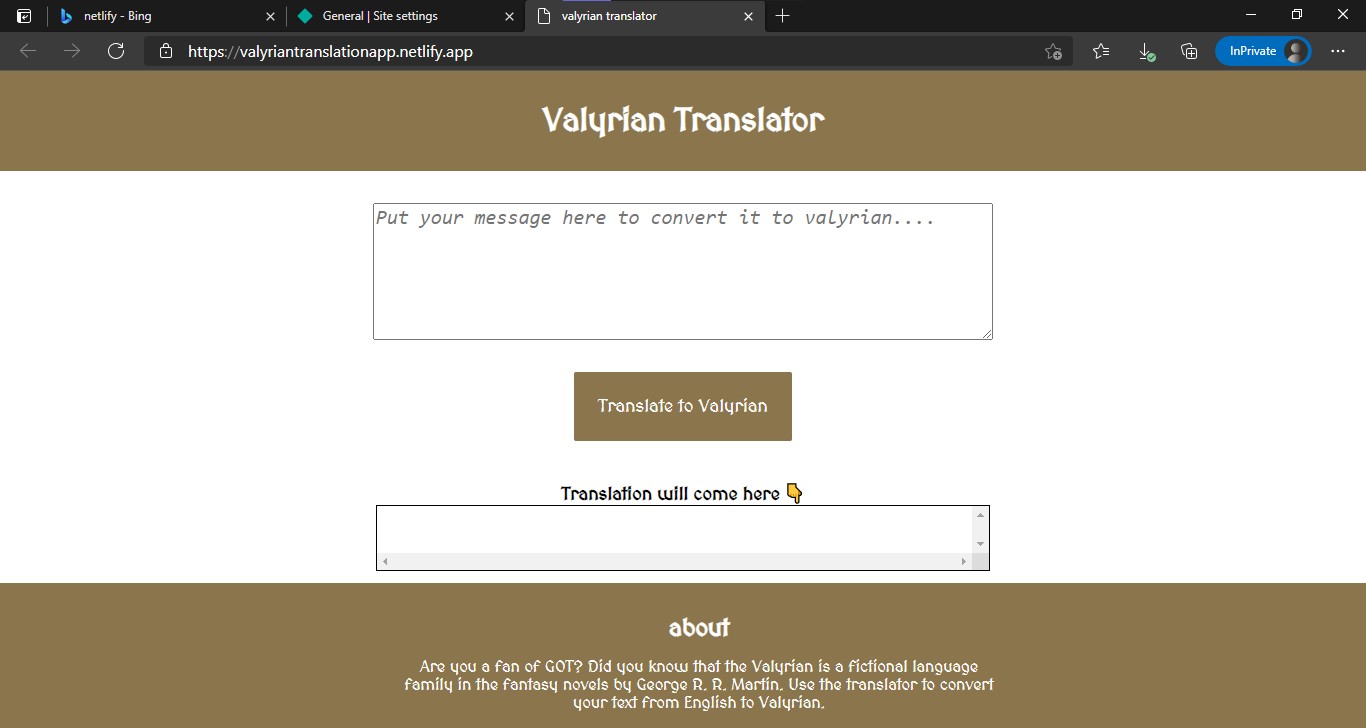
- Click on the link and bingo your site is hosted on Netlify. Now, you can share it with your friends and family and also on your social media accounts.
So easy no? And your site is live on the internet.

Thanks for reading! 😊
You can find the complete GitHub source code in this repository.
You can see the live demo of the deployed application here.
P.S. In this application, I have used fun translations API which takes 5 requests every day. So, if it shows any error while translation means the free limit got exhausted. You can try next day.


